It's going to be a little soggy in the field today, but a great day to launch rockets. I'm planning to launch my Mach 2 rocket. I did a nice black paint job after a lot of priming and fine wet sanding. It will never look this nice again.
5/28/12
Mach 2 Rocket Launch Today
5/18/12
Mach 2
One of my goals this summer is to break Mach 2. When I got back from school earlier this May, I started work on a new rocket that should be up to the job.
It's a 38mm minimum diameter rocket made of hand-laid fiberglass in my very own composites lab. Rocksim predicts a top speed of Mach 2.3 on a 6G Cesaroni J360.
It is an exercise in space/weight efficiency, construction techniques, and strength of materials.
| I used the motor casing as a form and wrapped wax paper around it to protect it. |
| Then I went around with liberal doses of epoxy resin. I used about 2 feet of cloth. |
| This was the result after the wrapping. To prevent it from hardening into this bumpy matrix pattern, I wrapped a layer of wax paper around the entire thing. |
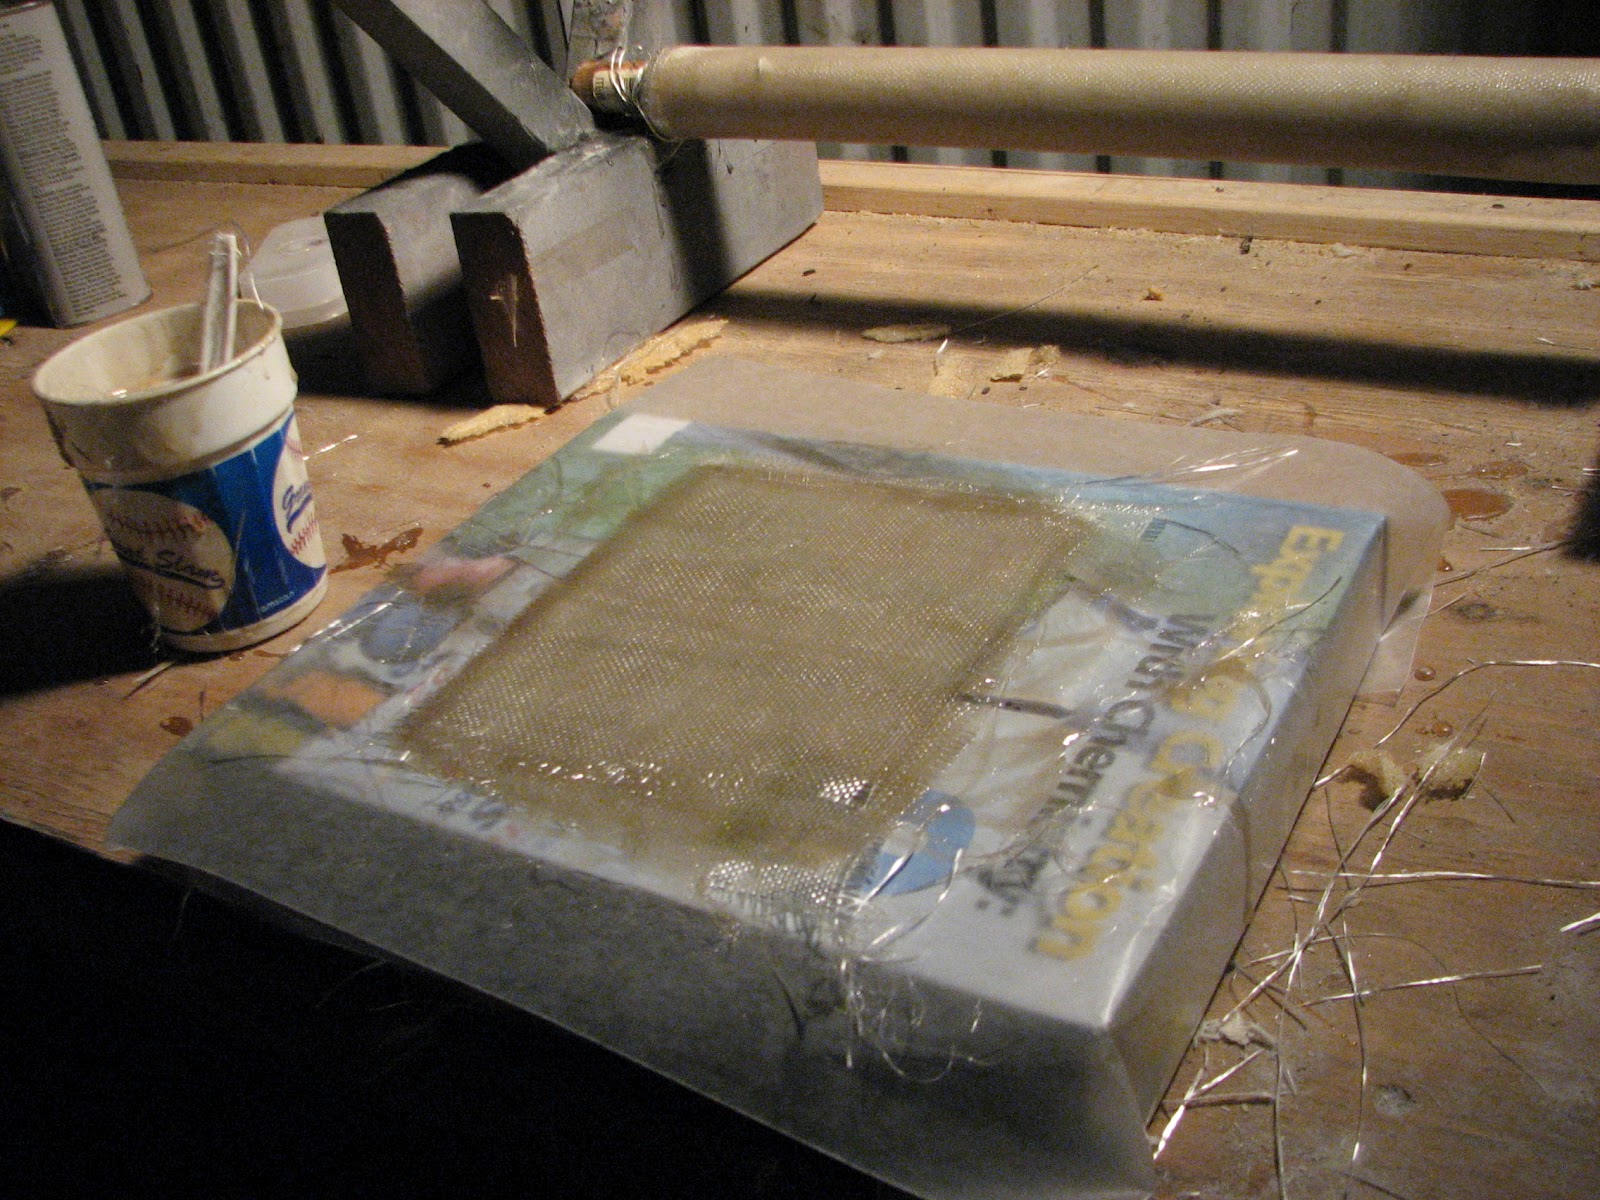
| For the fins I made a little fiberglass sheet with about 8 layers of cloth. |
| I then covered it in wax paper and pressed it with some heavy books. |
| (Such as an astrophysics text). |
| Very happy with the result. Taped on RockSim templates. |
| Cut them out with a jigsaw. |
| Sanded them even, gave them double-wedge airfoils. |
| Not much room for TTW fin attachment, but I did cut slots and but the fins up against the motor casing. |
| Used lats of epoxy. |
| A good view of the fillets. Used 60 minute epoxy mixed in fiberglass dust that I collected from sanding the fins. The fiberglass dust gives the epoxy more of a matrix, which increases the strength. |
| Recovery is going to be a little tricky, but I've got an idea that uses Kevlar shock cord. I'm planning to use a blaze-orange nylon streamer and, of course, a rocket tracker. |
I'm tentatively planning on launching this June at Tripoli MN.
I am also determined to make it to either LDRS or BALLS this year, but I have to earn some money first. It'll be an interesting summer anyway.
3/4/12
USLI -- Build Update
Today is the last bit of respite I have until spring break, so I decided to sneak in a little blog post! So here it is, enjoy it.
| Cutting fin slots. |
| Dry fit. Admiring the magnitude. |
| Epoxying the Bejeebers out of the forward centering ring. |
| Most of the payload parts laid out before assembly. |
| Structure of the quadcopter. |
| Filleting the fin roots. |
| DC motor mount. One down, four to go. |
| What are they all looking at? |
| AHhhhhh! |
1/5/12
Tree House
My sister and I have always wanted to build a tree house, ever since we knew what a tree house was. But we never had the time, money or know-how... until now.
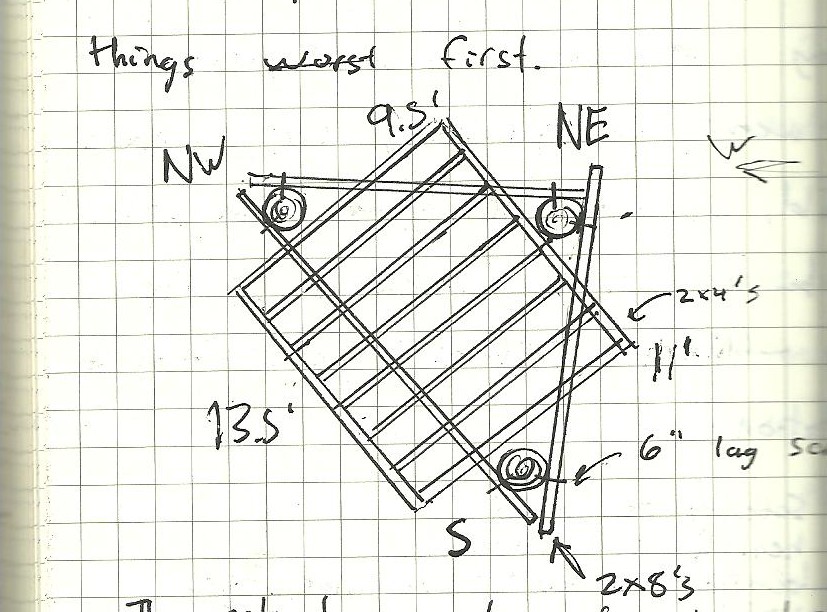
A lot of kids will go out with a hammer and some nails and some 2x4's they found in the garage and try to build a tree platform... But we did some research and are doing it the right way. For instance: our big 2x10's are each fixed at one end by a single 6" lag screw (to avoid compartmentalization), and at the other end by a bracket so that the trees can sway without breaking the boards or shearing any lag screws.
Once we have these beams up in the trees, we will work on putting a deck platform on top of the foundation, but we won't get to that during break.
This has been a great final "hurrah" for the end of winter break!
| Our initial scouting yielded this perfect location! |
| I can just see us having a picnic lunch up there next summer. |
![]() |
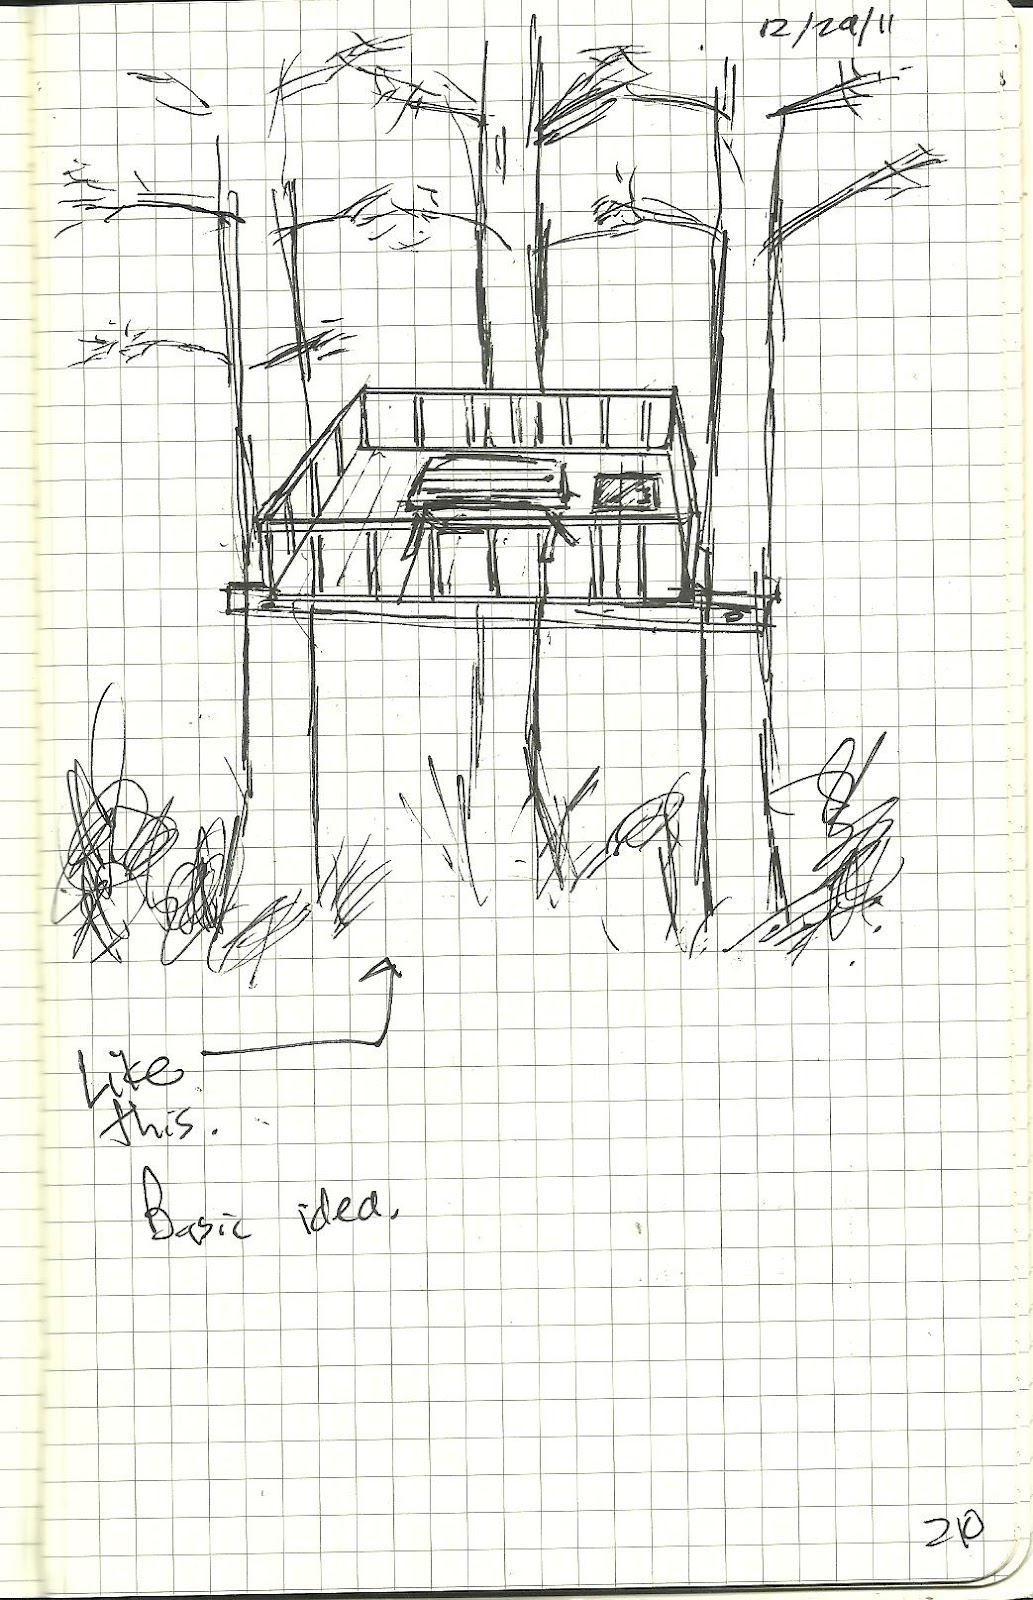
| Initial concept sketches. |
| On the way home from Home Depot. The 14' one is on the roof. |
| Got up bright and early... for once. |
| I had to blaze a trail out there, because a bunch of brambles had gone rampant all over the place. |
| Hauling timbers. |
| This picture is just to show that goofy grins run in the family. (It's not just me.) |
| A view from above as we put in the first beam. |
| The first beam installed. |
| *Grin* |
So what does all this have to do with aerospace? I dunno, maybe making friends with the rocket-eating trees is a good way to get them to leave you alone...
12/18/11
December Rockets
After a great semester, I now have three whole weeks of holiday to kill. I've already dived into a couple rocket projects, one that I've been working on for a while now, and one that I've been wanting to start for just as long.
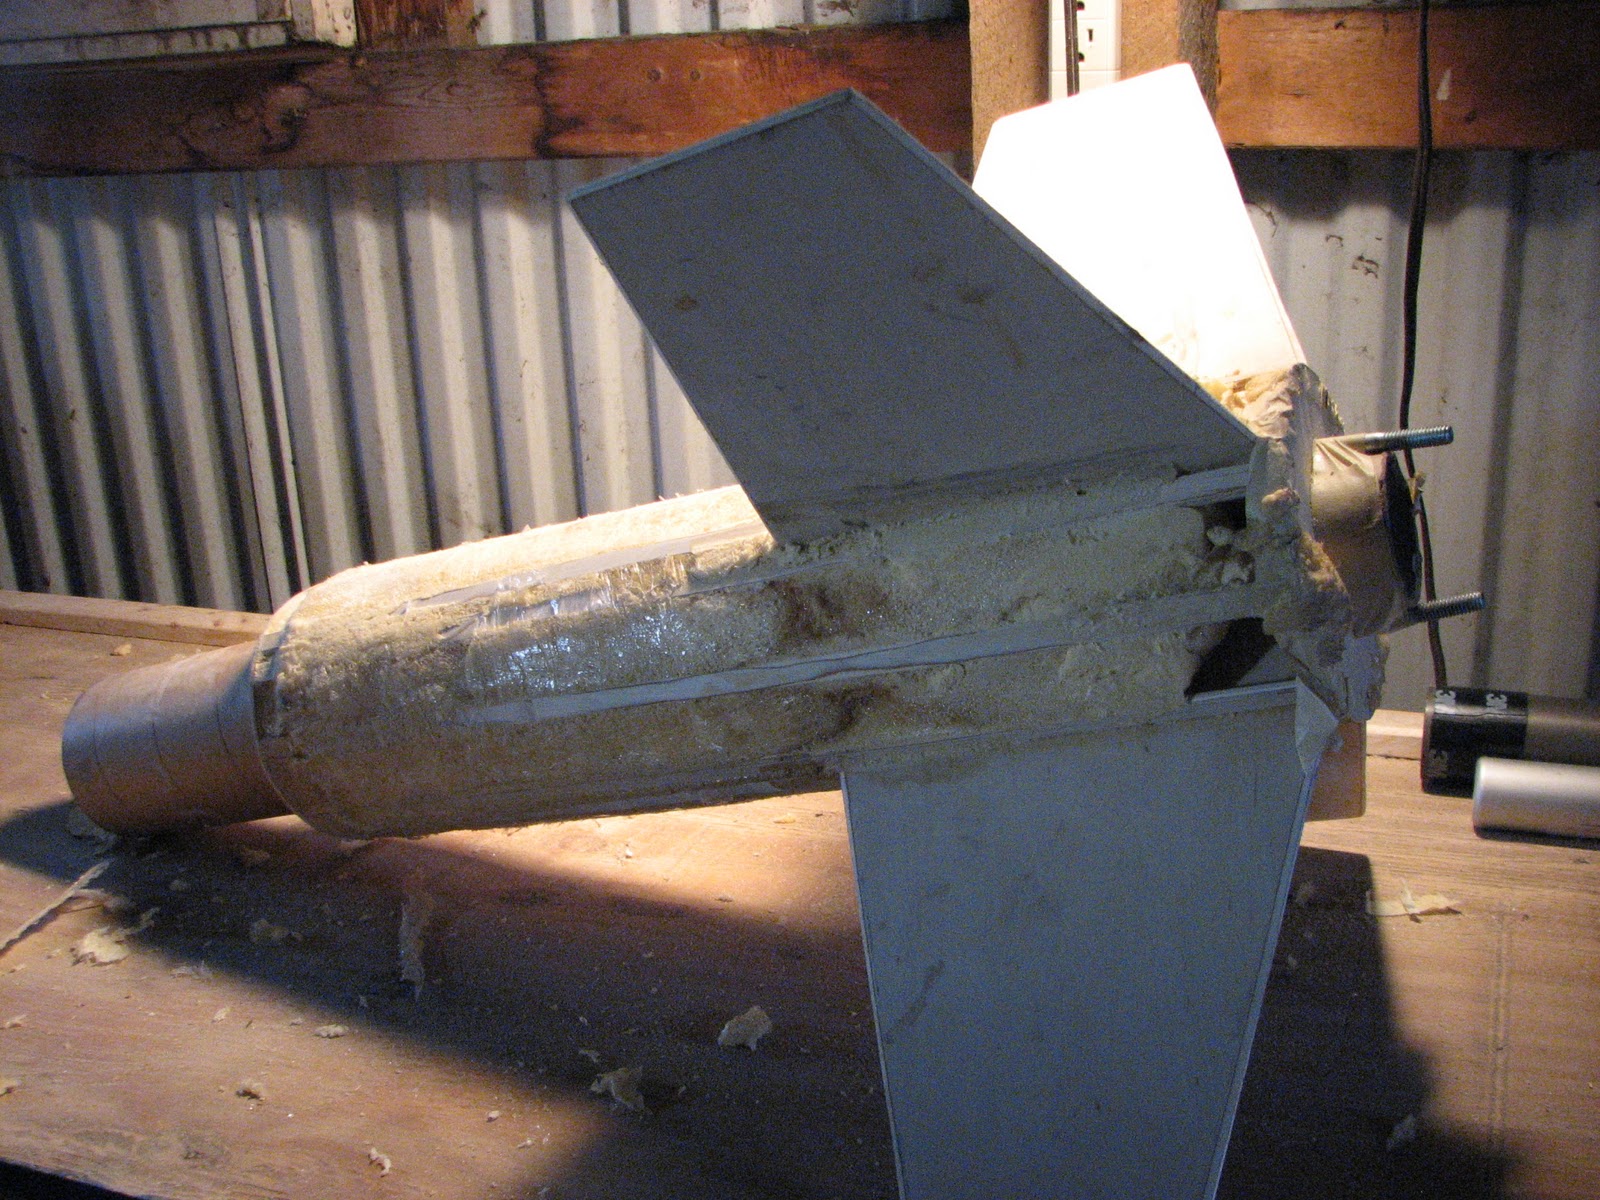
The rocket that I got my level 2 certification on was actually designed to be the upper stage of a two-stage rocket. So I'm now continuing work on the booster stage. Where I left off was a messy plywood and expanding foam blob, and today I picked it up again and started working on a fiberglass layup. I figured that today might be my best chance, since it got up to 45 degrees today.
I also want to work on the 38mm minimum diameter rocket I've been planning. I might try doing the layups inside if I have to, but I don't want to fumigate the house with epoxy.
Lastly, if I have time, I might work on a scale rocket for USLI... but more on that later!
[Build pictures]
10/1/11
8/2/11
Build Pictures for the 2-Stager!
I have made TONS of progress on my recent project since my last post. The exterior of the sustainer stage is finished, and the inside of the booster stage is finished. I have yet to put in the altimeter bay, recovery system and staging electronics housing on the sustainer, and still need to glass the booster airframe and paint it.
My work on the booster is rather unconventional. I cut out some strips of 1/4 inch plywood and glued them between the fore and aft centering rings. I then wrapped around the entire booster with plastic wrap and filled 'er up with expanding A-B foam epoxy.
I took this rocket to the county fair (it's my last year in 4H), and it got a purple ribbon. So I will be taking it to the MN State Fair this September, which means I will have to come up from college that weekend. I have a good reason to do so, however: If I participate in the State Fair this year, I am eligible to apply for a scholarship, so it is worth it.